AI Virtual Try-On Clothes & Accessories
Put your clothes, shoes, bags and accessories on any model in seconds, the garment kept exactly as it is.
Start free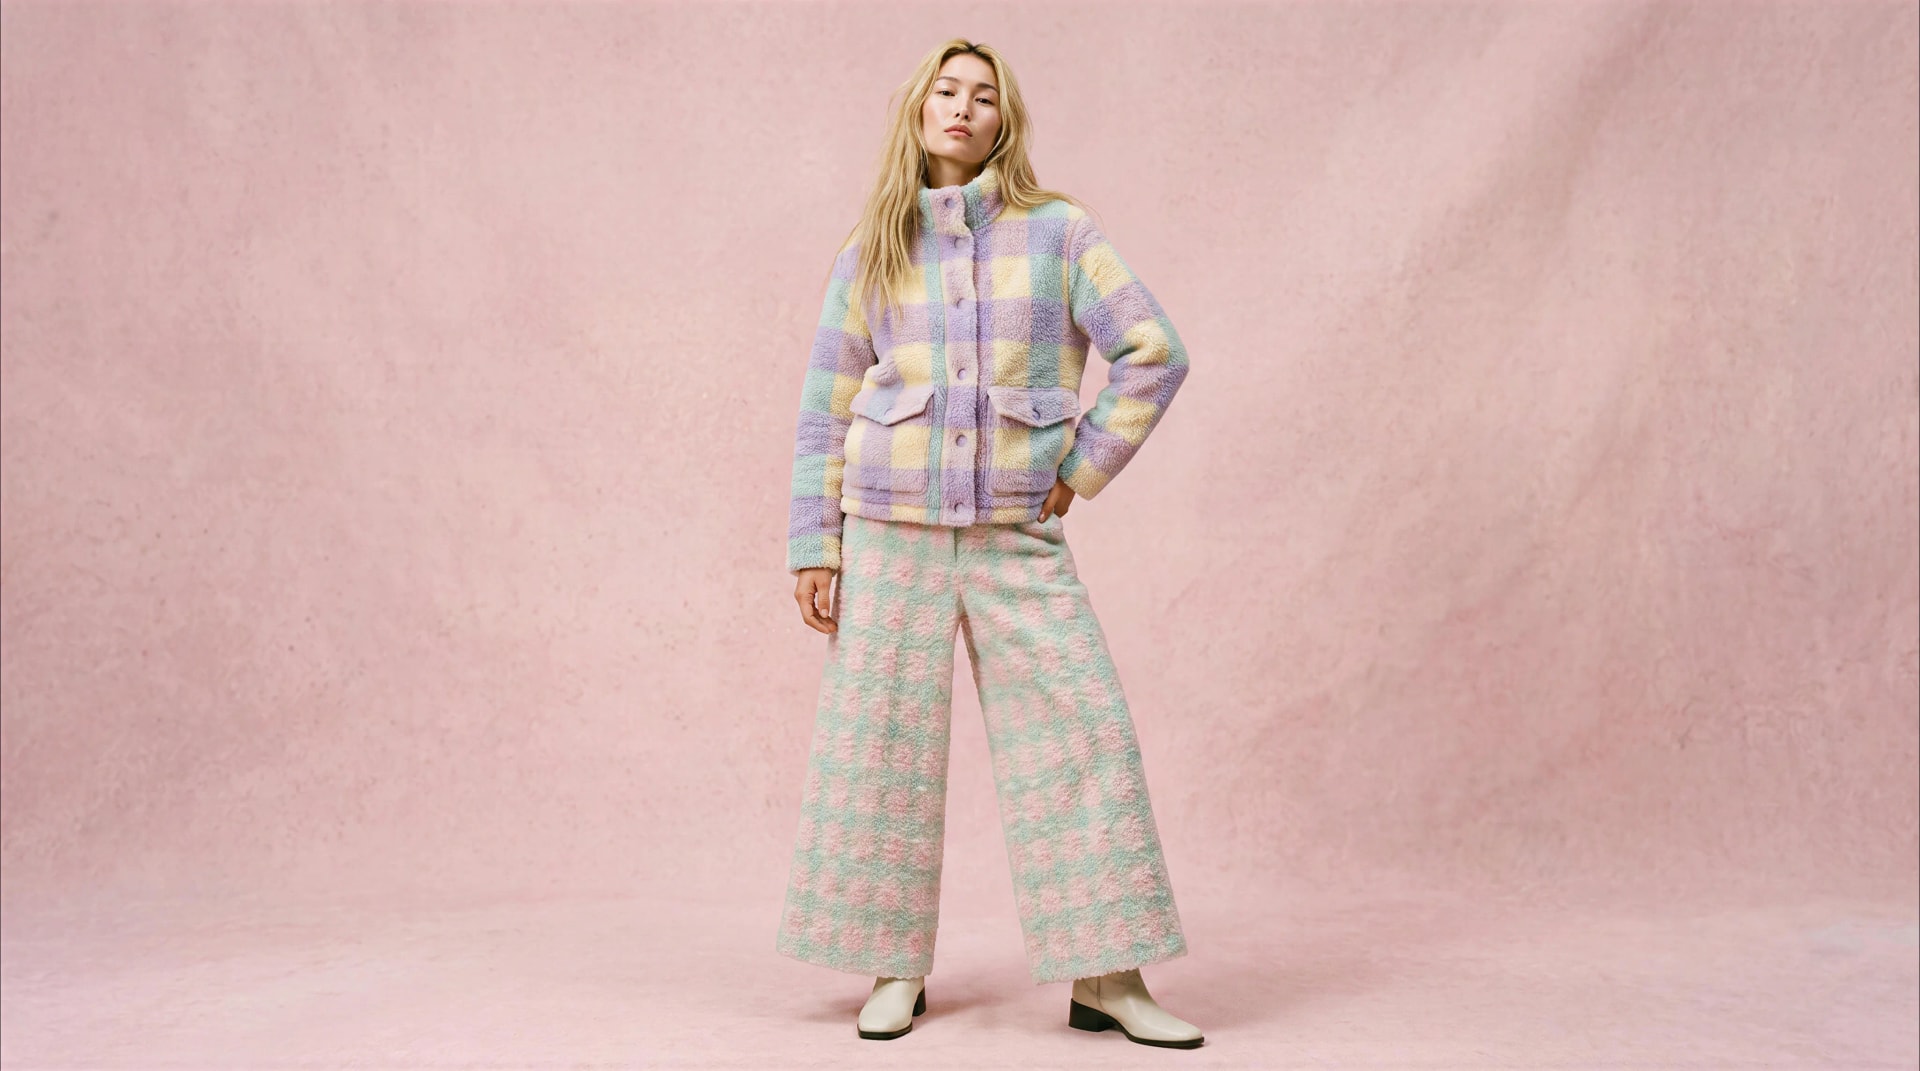
Try on anything: clothes, shoes, jewellery and accessories


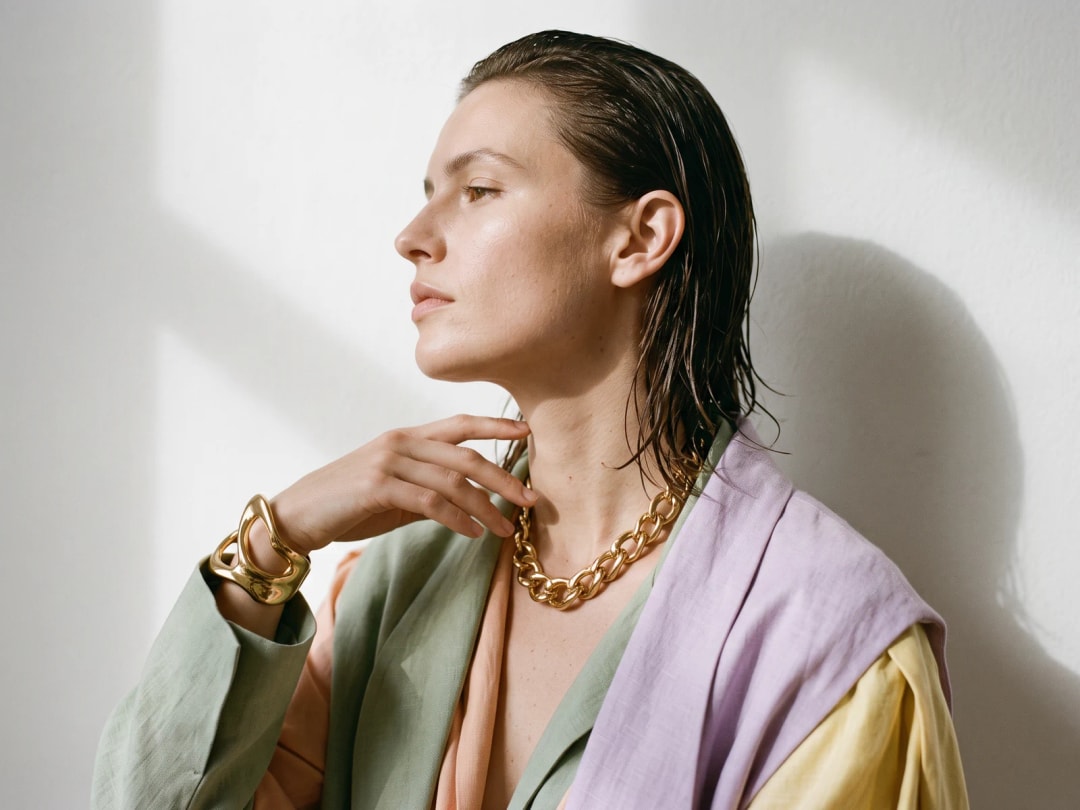
Virtual try-on for jewelry
Rings, necklaces and bracelets on the person, in proportion.


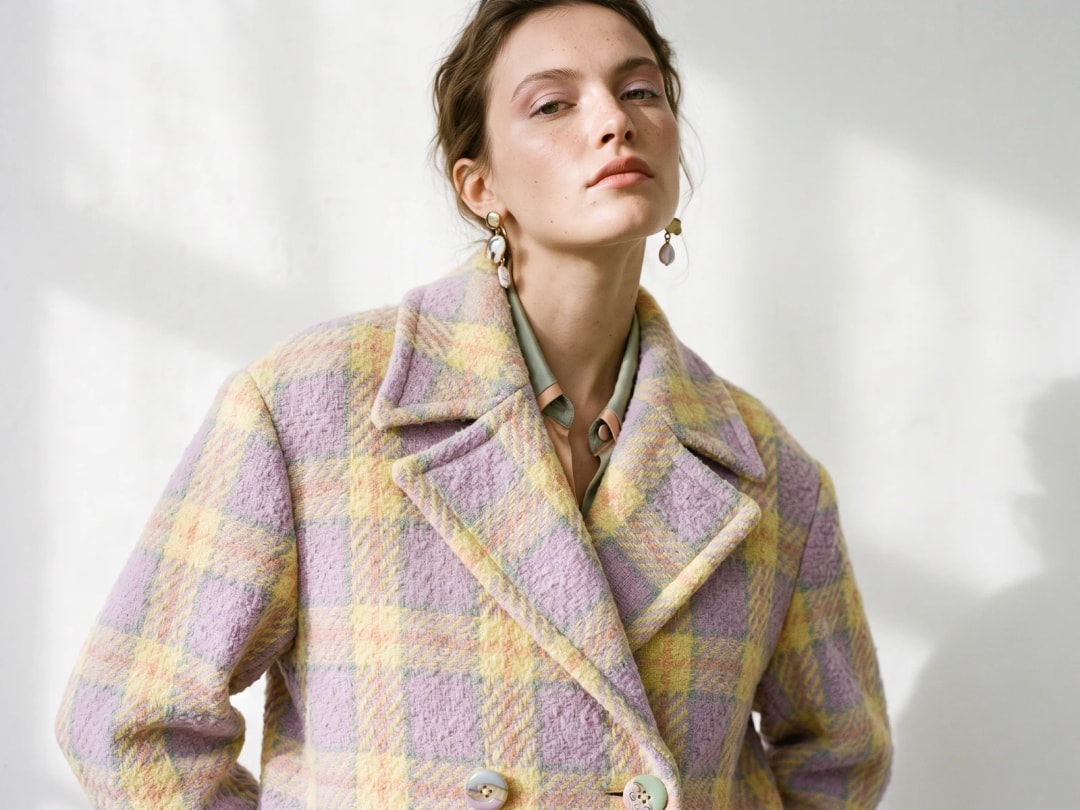
Explore more workflows
Backgrounds, videos, 3D, flat lays, tech packs and more, in the same studio.
AI Fashion StudioAI Fashion ModelsAI Outfit GeneratorAll AI fashion features
Learn
Virtual try-on for fashion brands, the complete guide
How it works, what it needs, what it costs, where it fails, and how brands use it for product pages and campaigns.
ReadThe virtual try-on feature, in detail
Upload the person and the garment, and see it worn in seconds, shoes and accessories included.
ReadThe AI clothes changer
Change the clothes on a photo: add the garment you want instead, and get the outfit changed in seconds.
ReadTry-on for bags, shoes and jewellery
Preview how an item looks worn, from clothes to bracelets, without a physical sample.
ReadWhat is virtual try-on, and how does it work?
Virtual try-on puts a product onto a person who was photographed without it. You bring two pictures, one of the model and one of the garment or accessory, and the result is a third: the same photograph, the same pose, the same light, with the piece worn.
What makes it usable rather than a collage is what is preserved. The person's posture and proportions stay as they were. The light falling on the face is the light on the new garment. The shadow the piece casts belongs to the body it is now on. That is the whole difference between an image you can put on a product page and one that reads as a montage from across the room.
It is a photographic operation, not a simulation. Nothing measures the person, nothing calculates how a fabric would behave on their frame, and nothing tells you which size to order. What it answers is the question a lookbook and a product page actually ask: how does this look, worn.
What photo works best
The source photograph decides most of the result, and four things make the difference.
A clearly visible person, ideally full length with a little room around them, so the piece has somewhere to sit and something to cast a shadow onto. An even, ordinary light: a photo shot against a bright window leaves the model guessing where the garment's own highlights belong. A pose that is open rather than folded, since crossed arms and hands buried in pockets hide exactly the edges where a new garment has to meet the body. And a plain enough background that the outline of the person is unambiguous.
The product photograph matters just as much and is more often neglected. Both kinds work: a flat lay on a plain ground, or the piece already worn by someone else. The flat lay is the safer of the two, because a garment photographed on another body arrives with that body's posture baked into it, and the model then has to decide which shape it is looking at.
Upload either as JPEG, PNG or WebP. It all runs in the browser, so there is nothing to install and no app to download first.
How accurate is it, and what carries over
The question behind most of the others: how much of your product actually survives the operation.
The garment's own identity does. Prints, checks and stripes come through as the pattern you photographed rather than an approximation of it, and printed text and logos are reproduced rather than smudged into an impression of type. Fabric reads as fabric: a bouclé stays nubby, a satin keeps its sheen, denim keeps its weave, and the piece falls into the creases a real garment would take on that pose.
What deliberately changes is the context. The piece is relit to match the photograph it lands in, which is why a garment shot in flat studio light can be dropped into a picture taken outdoors and still belong there. And the body is the one already in the frame: nothing slims it, nothing stretches it, nothing replaces the person you uploaded.
Two things are worth knowing before you plan a shoot around it. A part of the product the camera never saw cannot be recovered, so if the back of a jacket or the lining of a coat is the selling point, photograph that angle and try it on directly. And an accessory only lands convincingly on the part of the body that wears it, which is why shoes need feet in frame and rings need an open hand rather than a full-length figure.
Dresses, outfits and full looks
A single garment is the easy case. A whole outfit is the one people actually want, and it behaves differently.
Dresses are the most reliable of all, because a dress is one continuous piece: there is no waistline where two garments have to agree, and the silhouette is carried by a single shape. Trousers and tops together take more care. Generate them as one look rather than in two passes, or the second pass will re-decide the first.
For a full look, the rule that saves the most time is to change one layer at a time and keep the winner. Swap the coat, keep the trousers, look, then swap the trousers. A single instruction covering three garments usually lands on one of them.
What it costs, and how long it takes
One credit on Standard, three on Pro, per attempt. Nothing is charged for uploading and nothing for looking at the result. A new account opens with three free credits, so the first try-ons cost nothing beyond signing up.
A try-on takes around twenty seconds, measured on our own platform rather than estimated. No queue to join, no render to schedule: you upload two pictures and the third one arrives while you are still looking at them.
That pace is what changes the method rather than the cost. A brand photographing one model and trying forty products on her is a morning's work with no second shoot; deciding between two colourways stops being an argument and becomes two pictures side by side.
A whole catalogue in one pass
One try-on at a time is how you explore. A catalogue is a different job, and virtual try-on is one of the workflows that runs in bulk.
You give it the products and the models to dress, and the batch is generated in one pass rather than one upload at a time. The same model photograph across a range is what makes a collection page look like a single shoot, and it is the reason a brand can put a season online without booking one.
Where your images go afterwards
Everything you generate lands in your studio grid, private to your account and visible to nobody else unless you deliberately share a project with a teammate. It stays there for as long as your account is active rather than being cleared after a day, which matters more than it sounds: a try-on you made last month is still there to be reused.
And reused is the point. The same image can be organised into a project, animated into a video, taken up to HD, put through a background change, or published straight to Shopify and your social channels from the studio. On a paid plan the commercial rights to all of it are yours.
Edit with smart creative tools
Refine your generated visuals with smart editing tools: crop, trim videos, add clips, text, filters and more.
Publish directly to Shopify and channels
Schedule or publish your images and videos directly to Shopify, Instagram, Pinterest, TikTok, YouTube, X, Threads, and more.
Create directly in Claude chat
Create faster with The New Black AI through our seamless Claude MCP integration.
ConnectInvite your team
Seats come with every plan, unlimited from Business. Work on projects, edit and publish together.