Virtual Try-On Clothes
The virtual try on puts your product on a person you supply. Upload a photo of yourself or a model, then either a photo of the product or a text description of what you have in mind, and the AI renders it worn on the body with the fit and proportions of a real photograph. It dresses a whole person rather than one detail: jackets, coats, dresses, tops and pants. The same pass carries bags, shoes, and accessories.
Updated 16 September 2026
- 1Upload a clear photo of the person
- 2Bring the outfit, as a photo or as words
- 3Generate and keep experimenting
How it works
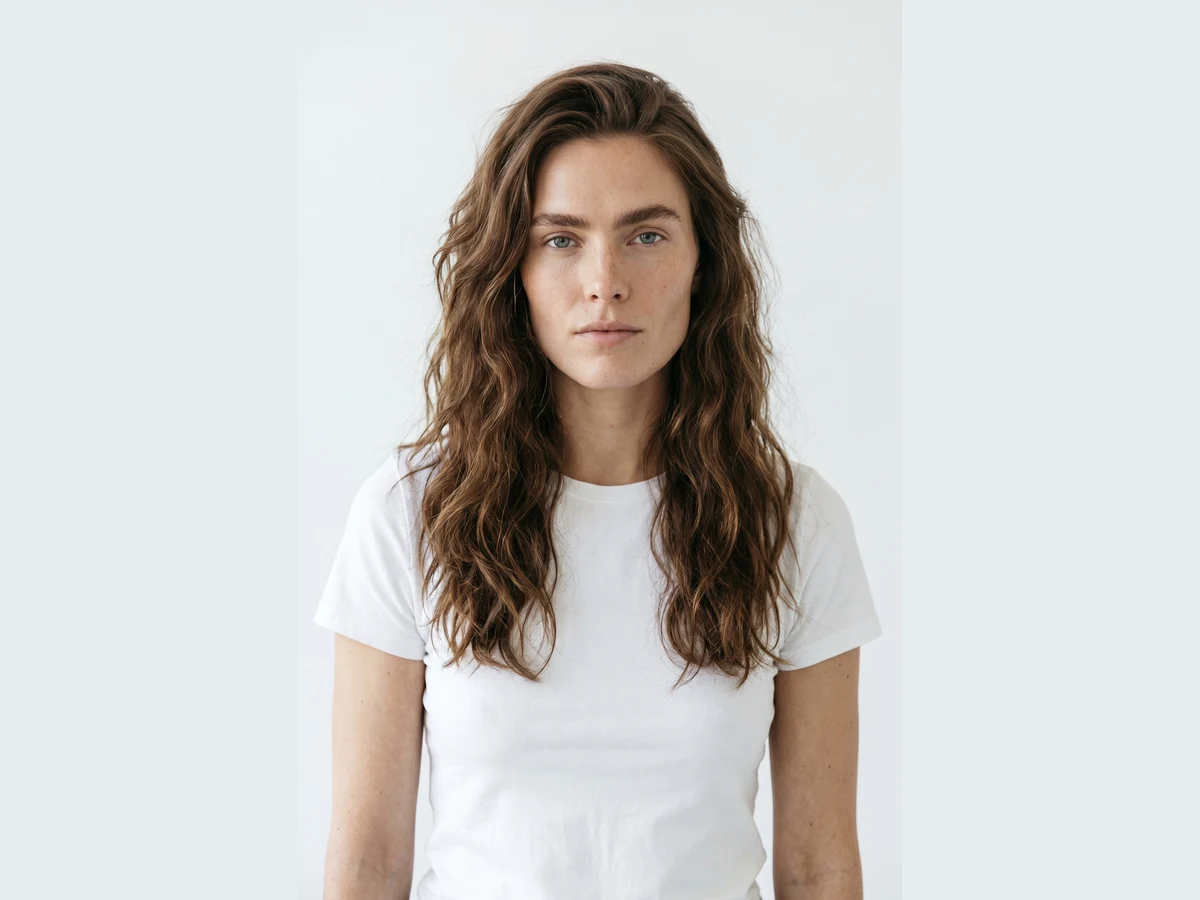
Upload a clear photo of the person
A full body or three quarter shot works best, because clothing covers most of the frame. The pose, the light, and the background of your photo are kept; only the clothes change.
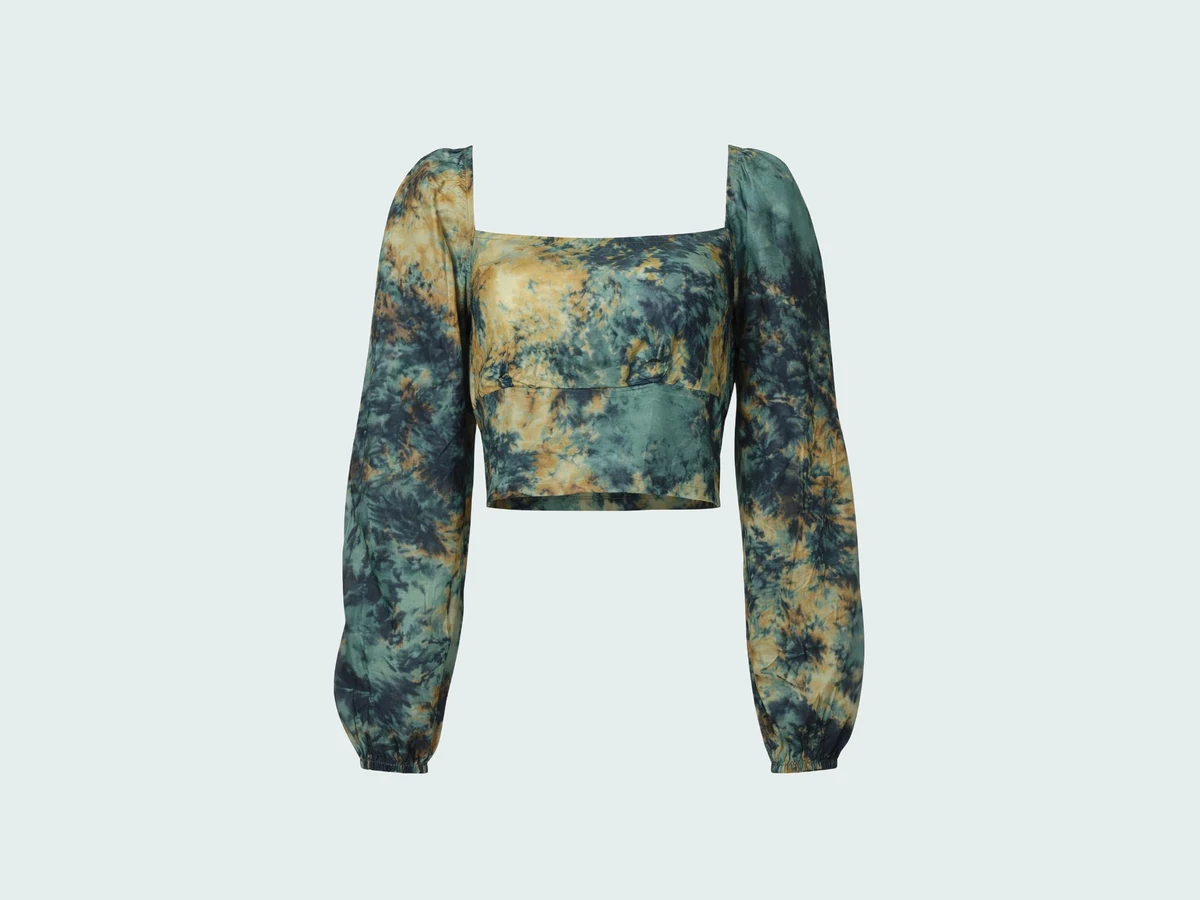
Bring the outfit, as a photo or as words
This try on takes two kinds of input. Upload a picture of the garment you want to see worn, or simply describe it: a chic jacket, a futuristic coat, the dress for a specific occasion. Describing works when the piece does not exist yet, which makes this a design tool as much as a shopping one.
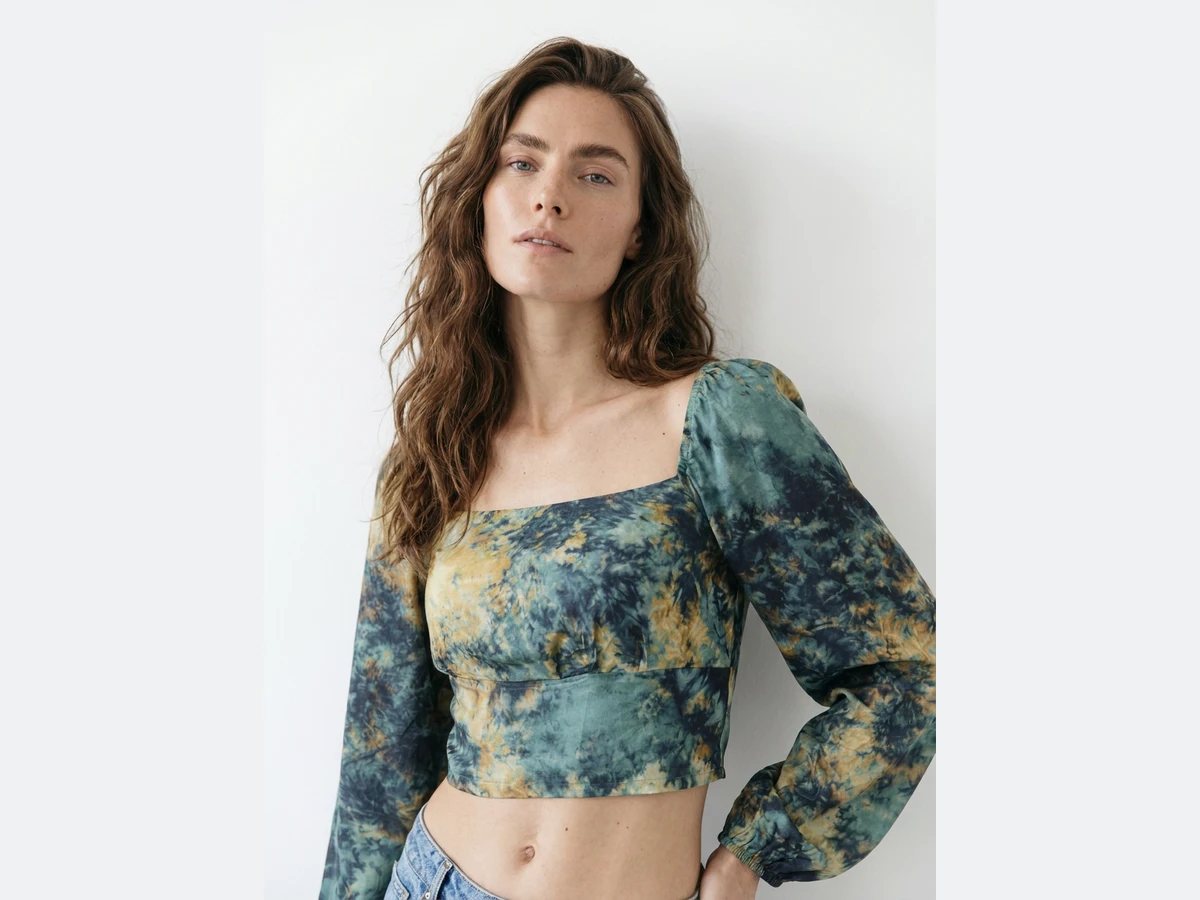
Generate and keep experimenting
The result lands in your studio grid in seconds. Change the outfit and run it again on the same photo, or keep the outfit and change the photo. A series made this way stays consistent, which is what a lookbook or a store page needs.
One photo, a whole wardrobe
The same person can wear everything you throw at the tool: casual pieces, outerwear, evening wear. Brands use it to show one model in a full collection without booking a shoot; shoppers use it to settle wardrobe decisions before buying. Specific categories have their own passes: dresses, shoes, and caps, beanies, and hats. For a whole catalog at once, use bulk generation.
Frequently asked questions
Can I choose the camera angle?+
Yes. Under Framing, the Angle row sets where the camera stands: Auto, eye level, slightly above, slightly below, or low from the ground. It changes the point of view of the whole picture, so a product page can show the garment at eye level and a campaign image from below, from the same try-on.
What photo should I upload of myself?+
A clear, well lit photo where your body is visible, ideally full length. The AI keeps your pose, your face, and the background, and replaces the clothing, so the more of you it can see, the more of the outfit it can render.
Do I need a photo of the clothes?+
No. A photo gives the most faithful result for an existing garment, but you can also describe the outfit in text and the AI will create and fit it in one pass. Both routes run in the try on studio.
Where do the results go?+
Every generated image lands in your studio grid, organised in projects, and can be reused in any other workflow: turn the look into a video, upscale it to HD, or run another try on over it.
Can I use the images commercially?+
Yes, on any plan: everything you generate is yours to sell, print and publish. Everything runs in the browser with no install, and you get free credits at signup to test it.
Try it yourself
Everything on this page was made in the studio. Your first designs are minutes away.
Open the studioRelated features
- Edit a Video with AIChange a video with a sentence, in your own words: the light, the setting, the mood, a garment. The instruction goes to the model as written; the clip keeps its length and its sound.
- AI Background Remover for Fashion and Product PhotosCut the subject out of any fashion or product photo and keep it on a transparent background: a model, a garment, a bag, a shoe, in one click, ready for your shop or your layouts.
- AI Image Generator for Fashion: Create or Edit Any ImageWrite what you want and get the image, or upload up to three references and describe the change: the free-prompt tool that creates or edits any fashion visual, in any format.
- Change the Background of a Video with AIPut the model of a video somewhere else — a street, a studio, a beach — with a sentence. The person, the outfit and the movement stay; the setting, the light and the shadows change.
- Edit the Outfit in a Video with AIChange the clothing in a video with a sentence: a new colour, another print, a different garment. The person, the movement and the setting stay as filmed.
- Model 360: a full turn from a front and a back photoTwo photos of your model, front and back, become a full-turn video: the model turns on the spot, or the camera circles around them. Every detail of the outfit kept, from every side.
- Reframe a Video to Any Format with AITurn a landscape clip into a vertical one, or a vertical into a square, without cropping: the subject is recentred and the missing edges are generated. One clip, every channel.
- Remove the Background of a Video with AICut a model or a product out of any video and keep it on a transparent, white, black or green background — no green screen. The clip keeps its length and its shape.
- Swap the Model in a Video with AIAnother person in the same video: give a photo of the new model, and the outfit, the movement and the setting stay exactly as filmed. One shoot, several faces.
- UGC Video: your product presented to cameraTurn a product photo into a short UGC-style clip: a presenter shows the piece and speaks to camera, smartphone feel, with voice.