Prefill AI Fashion Photo Settings from Inspiration
Prefill from inspiration turns a photo you like into the settings of a workflow. In The New Black AI, a button sits above the form of six workflows: Product to Model, Virtual Try-On, Create a Product, Ad Creative, Change Background and Reimagine your Model. You pick a photo that inspires you, a campaign, a pose, a street, a light, and it is read once to fill the form: the model, the pose, the styling, the scene, the framing, the camera angle, and in Create a Product the piece itself. You adjust what you want, then generate with your own product. The inspiration photo is never sent to the generator: only its direction is taken, so the image you get is a new one, built around your product.
Updated 9 November 2026
- 1Open a workflow and press Prefill from inspiration
- 2Pick the photo that inspires you
- 3Adjust, add your product, generate
How it works
Open a workflow and press Prefill from inspiration
Open Product to Model in the AI Fashion Models studio, or any of the six workflows. Above the form you will see a bar that reads Prefill from inspiration, with a small info dot that tells you what kind of photo the workflow wants: a model photo for Product to Model and Virtual Try-On, a product photo for Create a Product, a campaign photo for Ad Creative, a background photo for Change Background, a scene photo for Reimagine your Model.
Pick the photo that inspires you
Press the bar and choose From library to take an image you already have in the studio, or From device to upload up to three photos from your computer or phone. While it works the bar says « Reading your inspiration… ». When it is done it turns green and reads Filled below from inspiration, and the fields below now hold what was read from your photo.
Adjust, add your product, generate
Every filled field stays a normal field: change a word, pick another framing, keep the scene and drop the pose. Add your own product in its usual slot, then generate as you always do. If the result of the reading is not what you wanted, press Undo at the right end of the bar: every field goes back to what it was before.
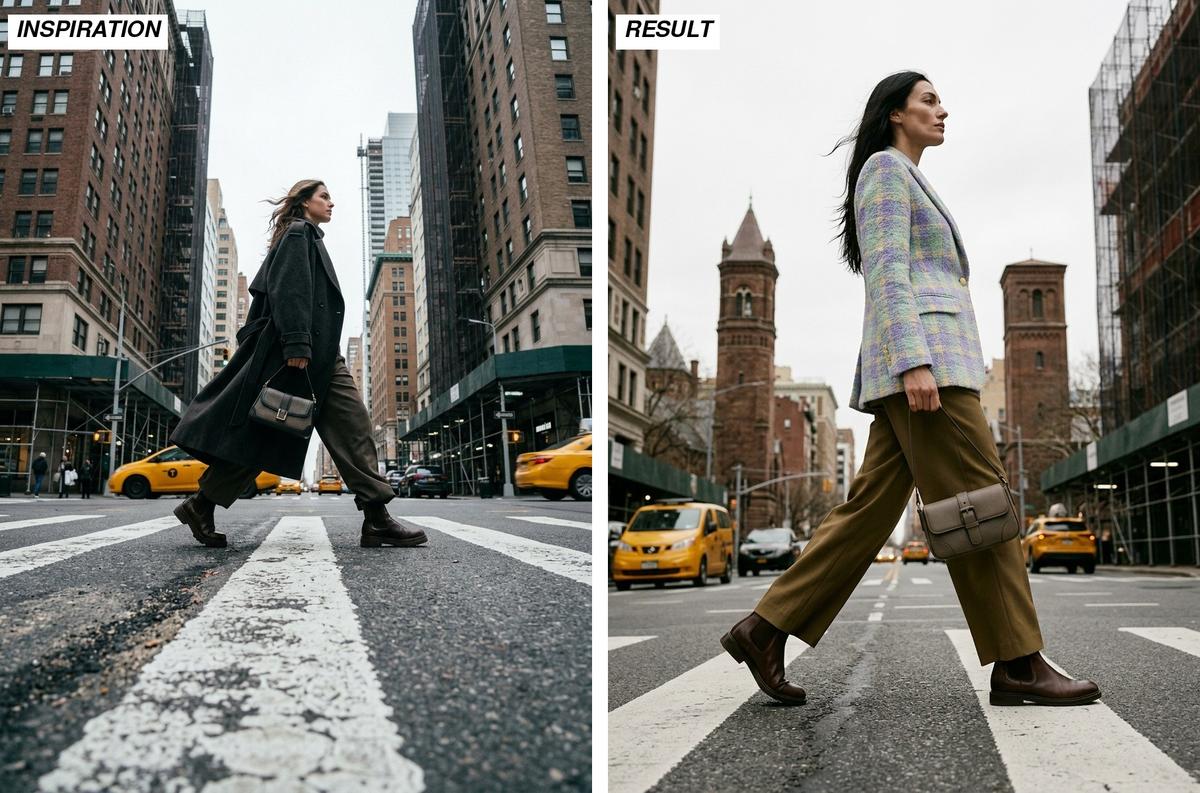
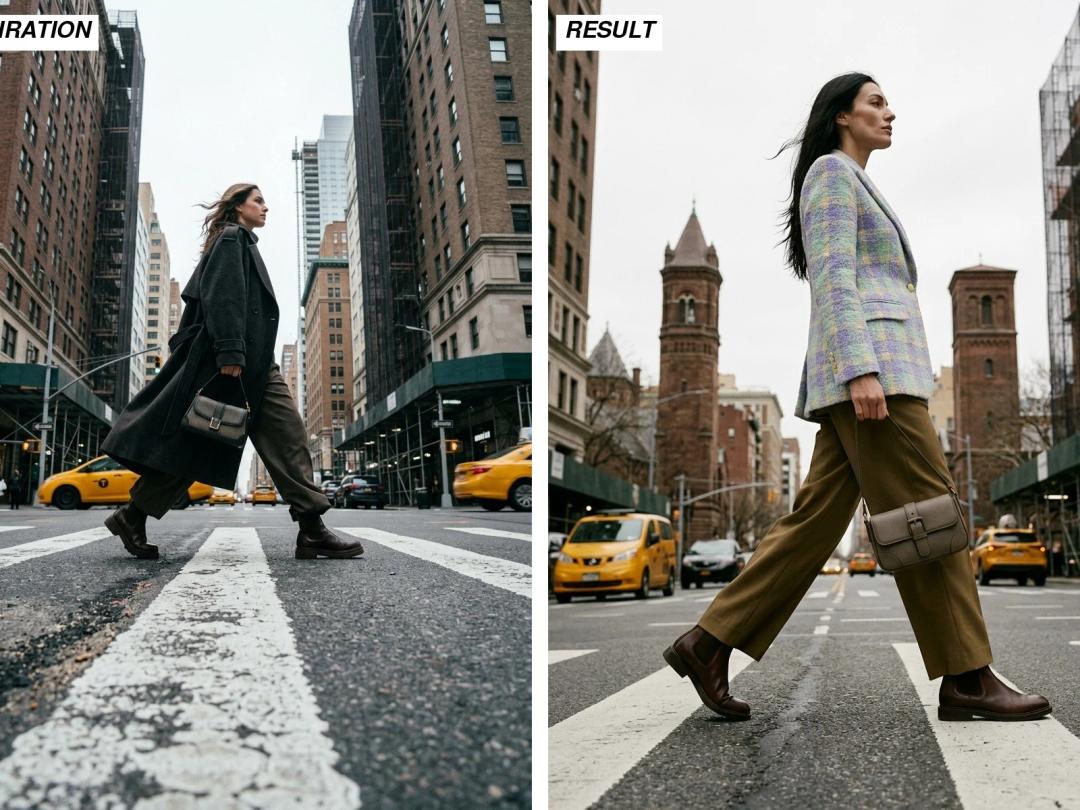
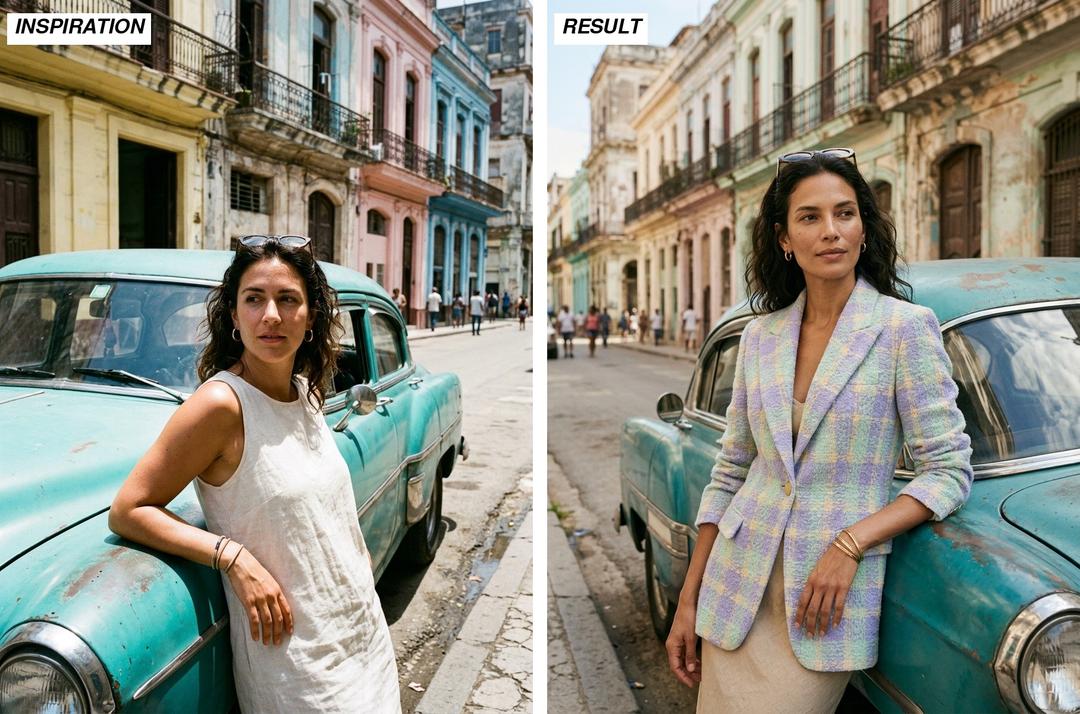
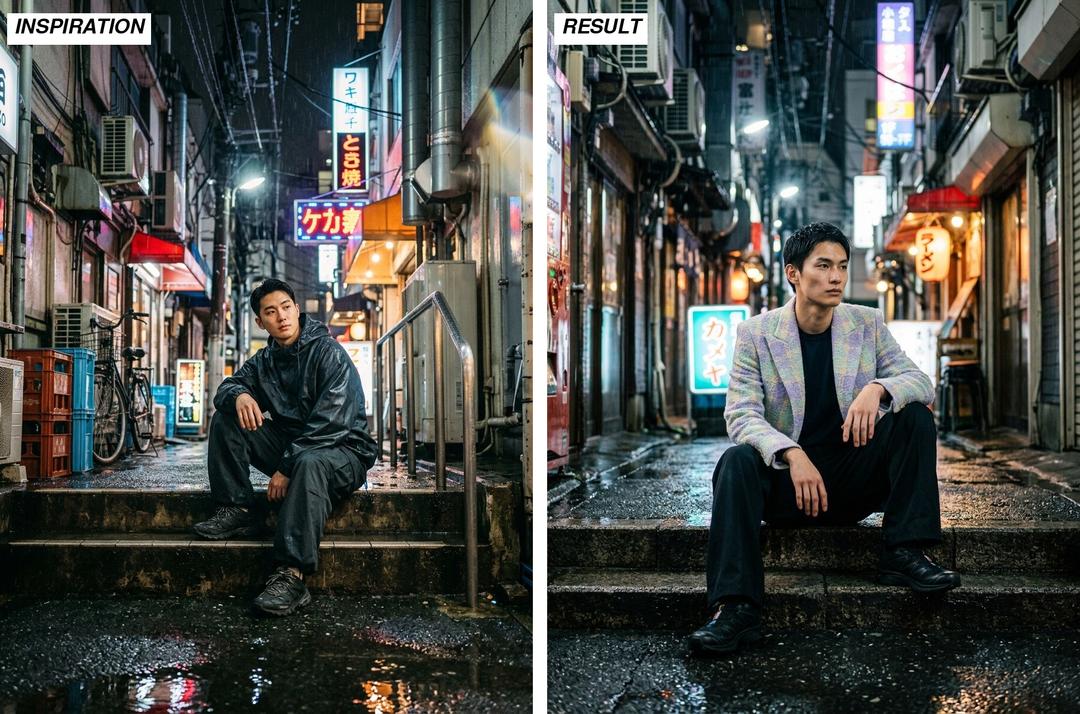
The comparisons above and below use the same product, a pastel tweed blazer: on the left the inspiration photo, on the right the image generated with the settings it filled.
What is taken from the photo, and what is not
The photo is read for its direction, the things a photographer or a stylist would note on a shoot brief:
- The person, by general traits only: an age range, a build, hair, an expression, a style. Never who they are, even when the face is famous.
- The pose, in short sentences a photographer would say: weight on one leg, a hand in a pocket, a look over the shoulder.
- The scene: the place, the light and the mood in one sentence.
- The shot: the framing and the camera angle, picked from the workflow's own options.
- The styling beside the garment: accessories, shoes, layers.
What is not taken: the main garment the person in the photo is wearing. You bring your own product, so the reading leaves it out, except in Create a Product, where the photo is there to inspire the piece itself. Nothing sexual is ever read into a form.
What each workflow fills
| Workflow | Fields filled from the photo |
|---|---|
| Product to Model | Gender, Age, Body shape, Origin, Physical features, Styling details, Described scene, Framing, Camera angle |
| Virtual Try-On | Physical features & pose, Complete the look, Scene description, Framing, Camera angle (your model comes from your own photo) |
| Create a Product | The product Type and the Product description, plus Age, Body Shape, Gender, From and Complete the look |
| Ad Creative | Scene |
| Change Background | New background, written in words |
| Reimagine your Model | New scene |
A field with a fixed list of choices, like Framing or Camera angle, only ever receives one of the workflow's own values. A field the photo does not clearly show stays as it was. The guide to camera angles in Product to Model and Virtual Try-On explains what each angle gives once it is filled.
Why the photo never reaches the generator
There are two reasons, one about quality and one about ownership.
Quality first. When an inspiration photo is handed to an image generator as a reference, the generator tends to retouch that photo rather than draw a new one: the original model, the original dress, the original face leak into the result. Reading the photo into words and choices keeps only its direction, and the generator starts from your product.
Ownership second. You are not editing someone else's photograph. The result is a new image built from your product and from settings you can read and change, not a copy of a campaign you found online. The person in the inspiration is described by general traits, never identified, so your image shows a new model, not them. Your product stays yours, and so does the image you make with it.
Honest limits
- It gives a direction, not a copy. The pose, the set and the light come back close, as in the examples above, but the result is a new image: details of the original set will differ.
- It fills only what it can see. A blurry or busy photo fills fewer fields; if nothing usable is read, the bar says so and asks for a clearer photo.
- One photo from the library, up to three from the device. Several photos help when you want the light of one and the pose of another.
- It works on any account with at least one credit, no plan needed. Below one credit the bar turns grey.
- It does not choose your product. In every workflow except Create a Product, your product photo still goes in its own slot.
The AI agent does the same
The AI agent of your account has the same function. Send it the photo that inspires you with a sentence like « the same pose and light as this, with my blazer »: it reads the photo into the workflow's settings, tells you in one line what it took, then generates with your product. It never passes the inspiration photo itself to the generator.
Frequently asked questions
What does Prefill from inspiration do?+
It reads a photo that inspires you and fills the settings of the workflow you have open: model, pose, styling, scene, framing and camera angle. You adjust them, add your product and generate.
Which workflows have the Prefill from inspiration button?+
Six: Product to Model, Virtual Try-On, Create a Product, Ad Creative, Change Background and Reimagine your Model. The button sits above each one's form.
Is my inspiration photo used in the final image?+
No. The photo is read once for its direction and is never sent to the generator. The final image is made from your product and the filled settings.
Can I recreate a pose from a photo I found online?+
You can take its direction: the pose, the light, the setting, the framing. The person is described by general traits only, so the result shows a new model wearing your product, not the person in the photo.
How many photos can I use?+
Up to three from your device, or one from your library. With several photos the reading combines what they show.
Do I need a plan to use it?+
No plan is needed. It works on any account that holds at least one credit.
Can I undo the prefill?+
Yes. Press Undo at the right end of the bar and every field returns to what it was before the photo was read.
Try it yourself
Everything on this page was made in the studio. Your first designs are minutes away.
Open the studioRelated features
- AI Photoshoot for Fashion BrandsReplace a fashion photoshoot with AI: your product on an AI model or your own, any setting and angle, ghost mannequin, flat lay, 4K, video, then straight to Shopify. From 1 credit.
- AI Virtual Try On Necklace (Jewelry)Preview any necklace on a model with AI: upload a model photo and the necklace design, and see it sit on the neckline at the right chain length.
- AI Virtual Try On Bracelet (Jewelry)Preview bracelet designs on a real wrist with AI: upload a wrist photo and your bracelet, and get a lifelike worn shot with accurate scale.
- AI Virtual Try On BagsSee any bag on a model in seconds: upload a photo and a handbag or purse image, and the AI matches lighting, proportions, and perspective.
- Create Kid Fashion Clothing Models with AIUpload a kids clothing photo and get a child AI model wearing it in about 30 seconds: no casting, no studio, visuals ready for your store.
- Virtual Try On Head Accessories with AISee any hat, cap, or beanie worn before buying: AI fits the headwear to the face, the hairstyle, and the perspective of your photo.
- Create an AI Fashion Model for SocksUpload a sock photo, describe the model and the scene, and get visuals framed so the socks stay the point: no shoes, no photoshoot.
- AI Ghost Mannequin Generator: Invisible Mannequin PhotosCreate the ghost mannequin effect from one garment photo: the AI removes the model or mannequin and rebuilds the inner collar. Free to try, about 15 seconds an image, ready for your store.
- AI Virtual Try On ShoesSwap shoes on any photo with AI: upload a model and a new pair, and the original shoes are replaced with realistic proportions and lighting.
- AI Virtual Try On JewelryTry jewelry on any photo with AI: upload a model and a ring, bracelet, necklace or earrings, and see the piece worn with realistic scale and light.