Create a 3D Model from an Image
The AI 3D clothing generator turns any image into a realistic 3D clothing model. Upload a fashion photo and the technology rebuilds the garment in volume, keeping its texture and its fit. What comes out is a clothes 3D model you can use for prototyping or for promotional work.
Updated 4 October 2026
- 1Upload an image
- 2Convert your image into a 3D design
- 3Explore what the format opens up
How it works
Upload an image
Any photo works: a flat clothing shot, a product picture, a fashion model wearing the piece. There is nothing to prepare beyond having the garment visible.
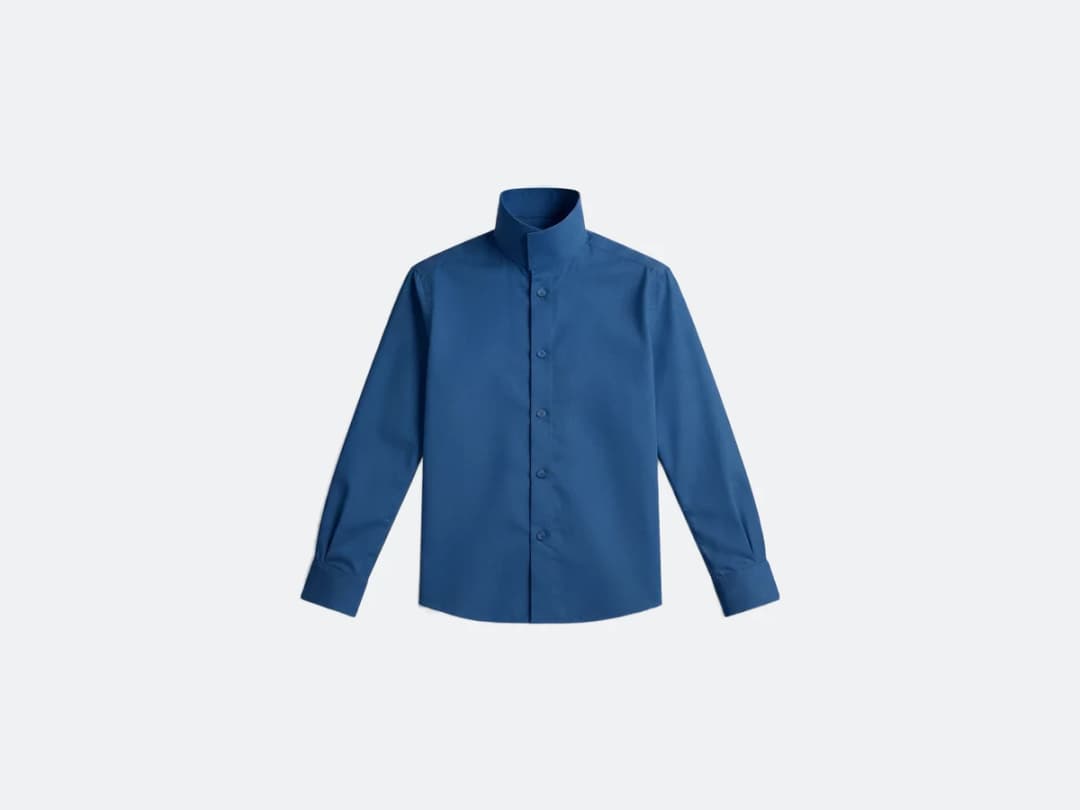
Convert your image into a 3D design
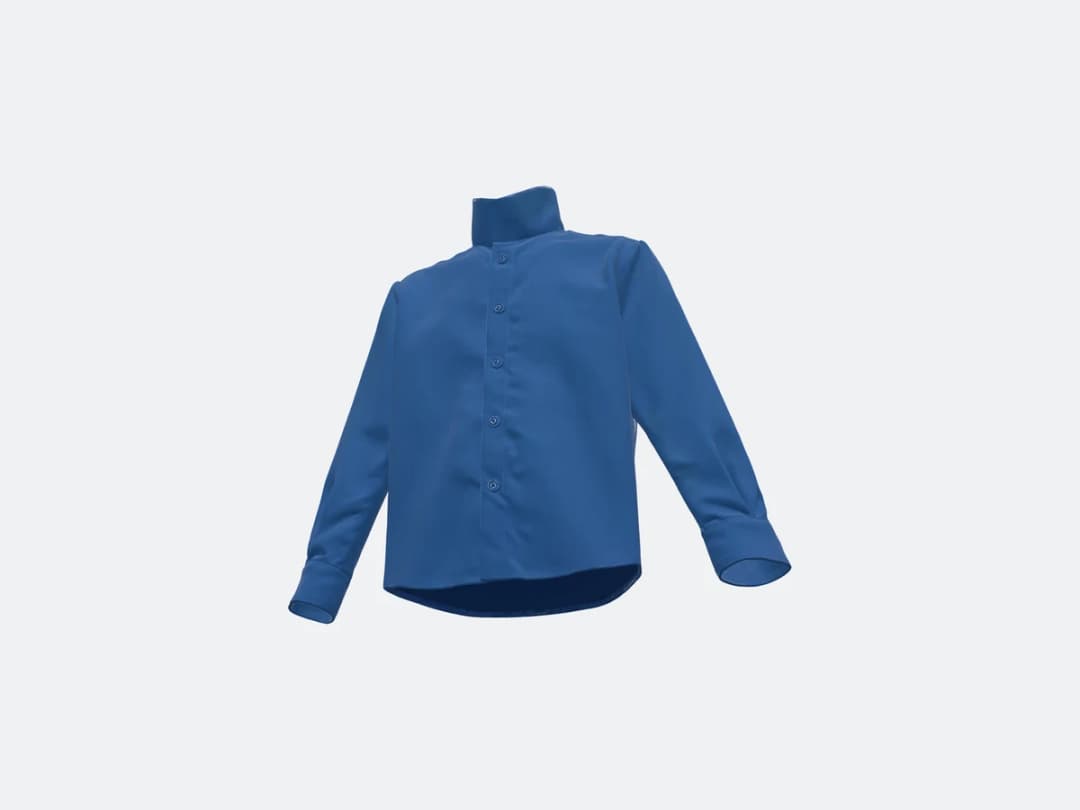
Click "Convert to 3D" and the AI does the rest. The process takes roughly two minutes, and it returns a 3D clothing model built from what it saw in your photo.
Explore what the format opens up
Try other images and see what the 3D versions give you. A garment you can turn and inspect reads differently from a flat picture, and the same source photo can feed several passes. Working this way lets you refine a design, look at a concept from a different angle, and present a product without a photo studio or a modeling tool.
Is there a 3D clothes maker that works from one photo?
This is one, and the single photograph is the whole point of it. The established way to get a garment into three dimensions is to build it: pattern pieces drafted, sewn together in software, simulated on an avatar with fabric properties assigned. That produces something excellent and takes a trained hand a day or more per piece. Here the input is a picture and the output is a mesh you can turn.
They are not the same object and should not be confused. A simulated garment knows it is made of panels, so it drapes when the avatar moves and can be graded and sent to production. A mesh reconstructed from a photograph knows only what the photograph showed: it has volume, texture and silhouette, and no idea that it is made of cloth. For turning a product on a page, showing a concept from three angles, or putting an object into a presentation, the second is enough and arrives in two minutes.
3D clothing design online, free to start
Everything here runs in the browser: no software to install, no 3D skills, no pattern to draft. The account is free, and its welcome credits cover your first designs in 2D; a 3D conversion is 10 credits, from a credit pack or any plan. The usual path takes four steps, all online.
| Step | Where | Credits |
|---|---|---|
| Design the garment from a sentence or a sketch | Create a Product | 1 Standard, 3 Pro |
| Clean the photo: white background, whole piece in frame | Remove Background | 0.5 |
| Convert the image to a 3D model | Image to 3D | 10 |
| Turn it, then export FBX, USDZ, OBJ, STL, 3MF or glTF | the model's Edit tab | free |
What you get is a 3D model of the design, textured and turnable, for presentations, product pages, AR and games. If you need a garment simulated from sewing patterns, with fabric physics, that is pattern software, a different job; the section above explains where each fits.
What a mesh costs, and how long it takes
Ten credits, whatever the plan: ten times a Standard image, because reconstruction is genuinely heavier than drawing a picture. It is also slow: a mesh takes about two minutes on our own platform, against roughly fifteen seconds for an image.
Both numbers are worth knowing before you start, because they change the method. Images are cheap enough to explore with; meshes are not. The way people use this well is to settle the garment in 2D first, across a dozen cheap attempts, and convert only the one that won.
What the source photograph decides
Everything, more than in any other workflow here. The mesh cannot invent a side it was never shown, so what the camera missed is guessed, and the guess is smooth where the truth might have been structured.
Three habits pay for themselves. Give it the whole garment in frame, unclipped by the edges of the photograph. Prefer a plain background: a busy scene leaves the model deciding where the garment stops, and a mistake there becomes geometry. And choose an angle with some depth in it. A three-quarter view carries more shape information than a dead-flat front, so the back it infers is better informed.
Two limits to plan around. Fine detail such as a thin strap, an open weave or a fringe reconstructs as approximation rather than as structure. And nothing about the result is a pattern: there are no panels, no seam allowances and no measurements, so this sits beside a tech pack rather than replacing any part of one.
Make your first 3D model
Any creation in the studio can go through the 3D conversion. Open the studio, upload a photo, and press Convert to 3D. If your source image is small or soft, run it through the HD enhancer first so the converter has more detail to read.
Frequently asked questions
How long does the conversion take?+
Roughly two minutes. You click Convert to 3D and the AI does the rest, returning a 3D clothing model built from what it saw in your photo.
What kind of image works?+
Any photo where the garment is visible: a flat clothing shot, a product picture, or a fashion model wearing the piece. There is nothing to prepare beyond that. If the source is small or soft, an HD pass first gives the converter more detail to read.
What is the 3D model useful for?+
Prototyping and promotional work. A garment you can turn and inspect reads differently from a flat picture, so the format suits refining a design, checking a concept from another angle, and presenting a product without a photo studio.
Can I convert my studio creations?+
Yes, any creation in the studio can go through the 3D conversion, and the results stay in your studio, organised in projects, next to the images they came from. Everything runs in the browser, with free credits at signup.
What file format is the 3D model?+
A GLB file, the standard web 3D format, that you can turn in the studio. From its Edit tab it also exports to FBX (Unreal, Unity, Blender), USDZ (AR on iPhone), OBJ, STL or 3MF for printing, and glTF: see export 3D fashion models to FBX, Unreal and Unity.
How many credits does a 3D conversion cost?+
10 credits per model, whatever the plan.
Can I create a 3D garment from a text prompt?+
In two steps. Describe the garment in Create a Product with Product only, then convert the image to 3D. The 3D step itself starts from an image.
Does it work for shoes and bags?+
Yes, any product the image shows clearly: garments, shoes and sneakers, bags and accessories.
Is there a free 3D clothing design tool online?+
The New Black AI runs in the browser with a free account: design the garment in 2D with the welcome credits, then convert it to 3D for 10 credits with a credit pack or any plan. There is nothing to install and no 3D skill needed.
Can I design 3D clothes without signing up?+
No: a free account is needed, because your designs, your 3D models and their exports are saved in your own studio. Signing up takes an email and no card.
Try it yourself
Everything on this page was made in the studio. Your first designs are minutes away.
Open the studioRelated features
- AI Fashion Reels: Trending Outfit Transition VideosMake trending AI fashion reels from one photo: outfit transitions as people pass, as your model walks, at a finger snap, after a jump, and more. 10-second 9:16 videos for Reels, TikTok and Shorts.
- AI Fashion Video from Reference ImagesPut your model, your garment and a place into one video: add up to three reference pictures, describe the scene, and get a 5 to 15 second fashion clip in 9:16, 1:1 or 16:9.
- Fashion Reel Templates & AI Motion DesignEighteen Motion Design templates for fashion reels: drop your photos or clips, edit the words, render a 10-second video in 9:16, 4:5, 1:1 or 16:9. One credit, every plan.
- Edit a Video with AIChange a video with a sentence, in your own words: the light, the setting, the mood, a garment. The instruction goes to the model as written; the clip keeps its length and its sound.
- AI Image Generator for Fashion: Create or Edit Any ImageWrite what you want and get the image, or upload up to three references and describe the change: the free-prompt tool that creates or edits any fashion visual, in any format.
- Change the Background of a Video with AIPut the model of a video somewhere else, a street, a studio, a beach, with a sentence. The person, the outfit and the movement stay; the setting, the light and the shadows change.
- Edit the Outfit in a Video with AIChange the clothing in a video with a sentence: a new colour, another print, a different garment. The person, the movement and the setting stay as filmed.
- Model 360: a full turn from a front and a back photoTwo photos of your model, front and back, become a full-turn video: the model turns on the spot, or the camera circles around them. Every detail of the outfit kept, from every side.
- Reframe a Video to Any Format with AITurn a landscape clip into a vertical one, or a vertical into a square, without cropping: the subject is recentred and the missing edges are generated. One clip, every channel.
- Remove the Background of a Video with AICut a model or a product out of any video and keep it on a transparent, white, black or green background, no green screen. The clip keeps its length and its shape.