AI Product Photos for Shopify: The New Black AI
Published 8 October 2026
AI product photos for a Shopify fashion store are the images on your product pages made from the photos you already have: a garment shot on a hanger or a table becomes the same piece worn by a model, a clean ghost mannequin, a flat lay, a close-up or a short turning video. This guide covers which shots a fashion product page needs, how to make each one with AI, and how to get them onto Shopify without downloading and re-uploading a single file.
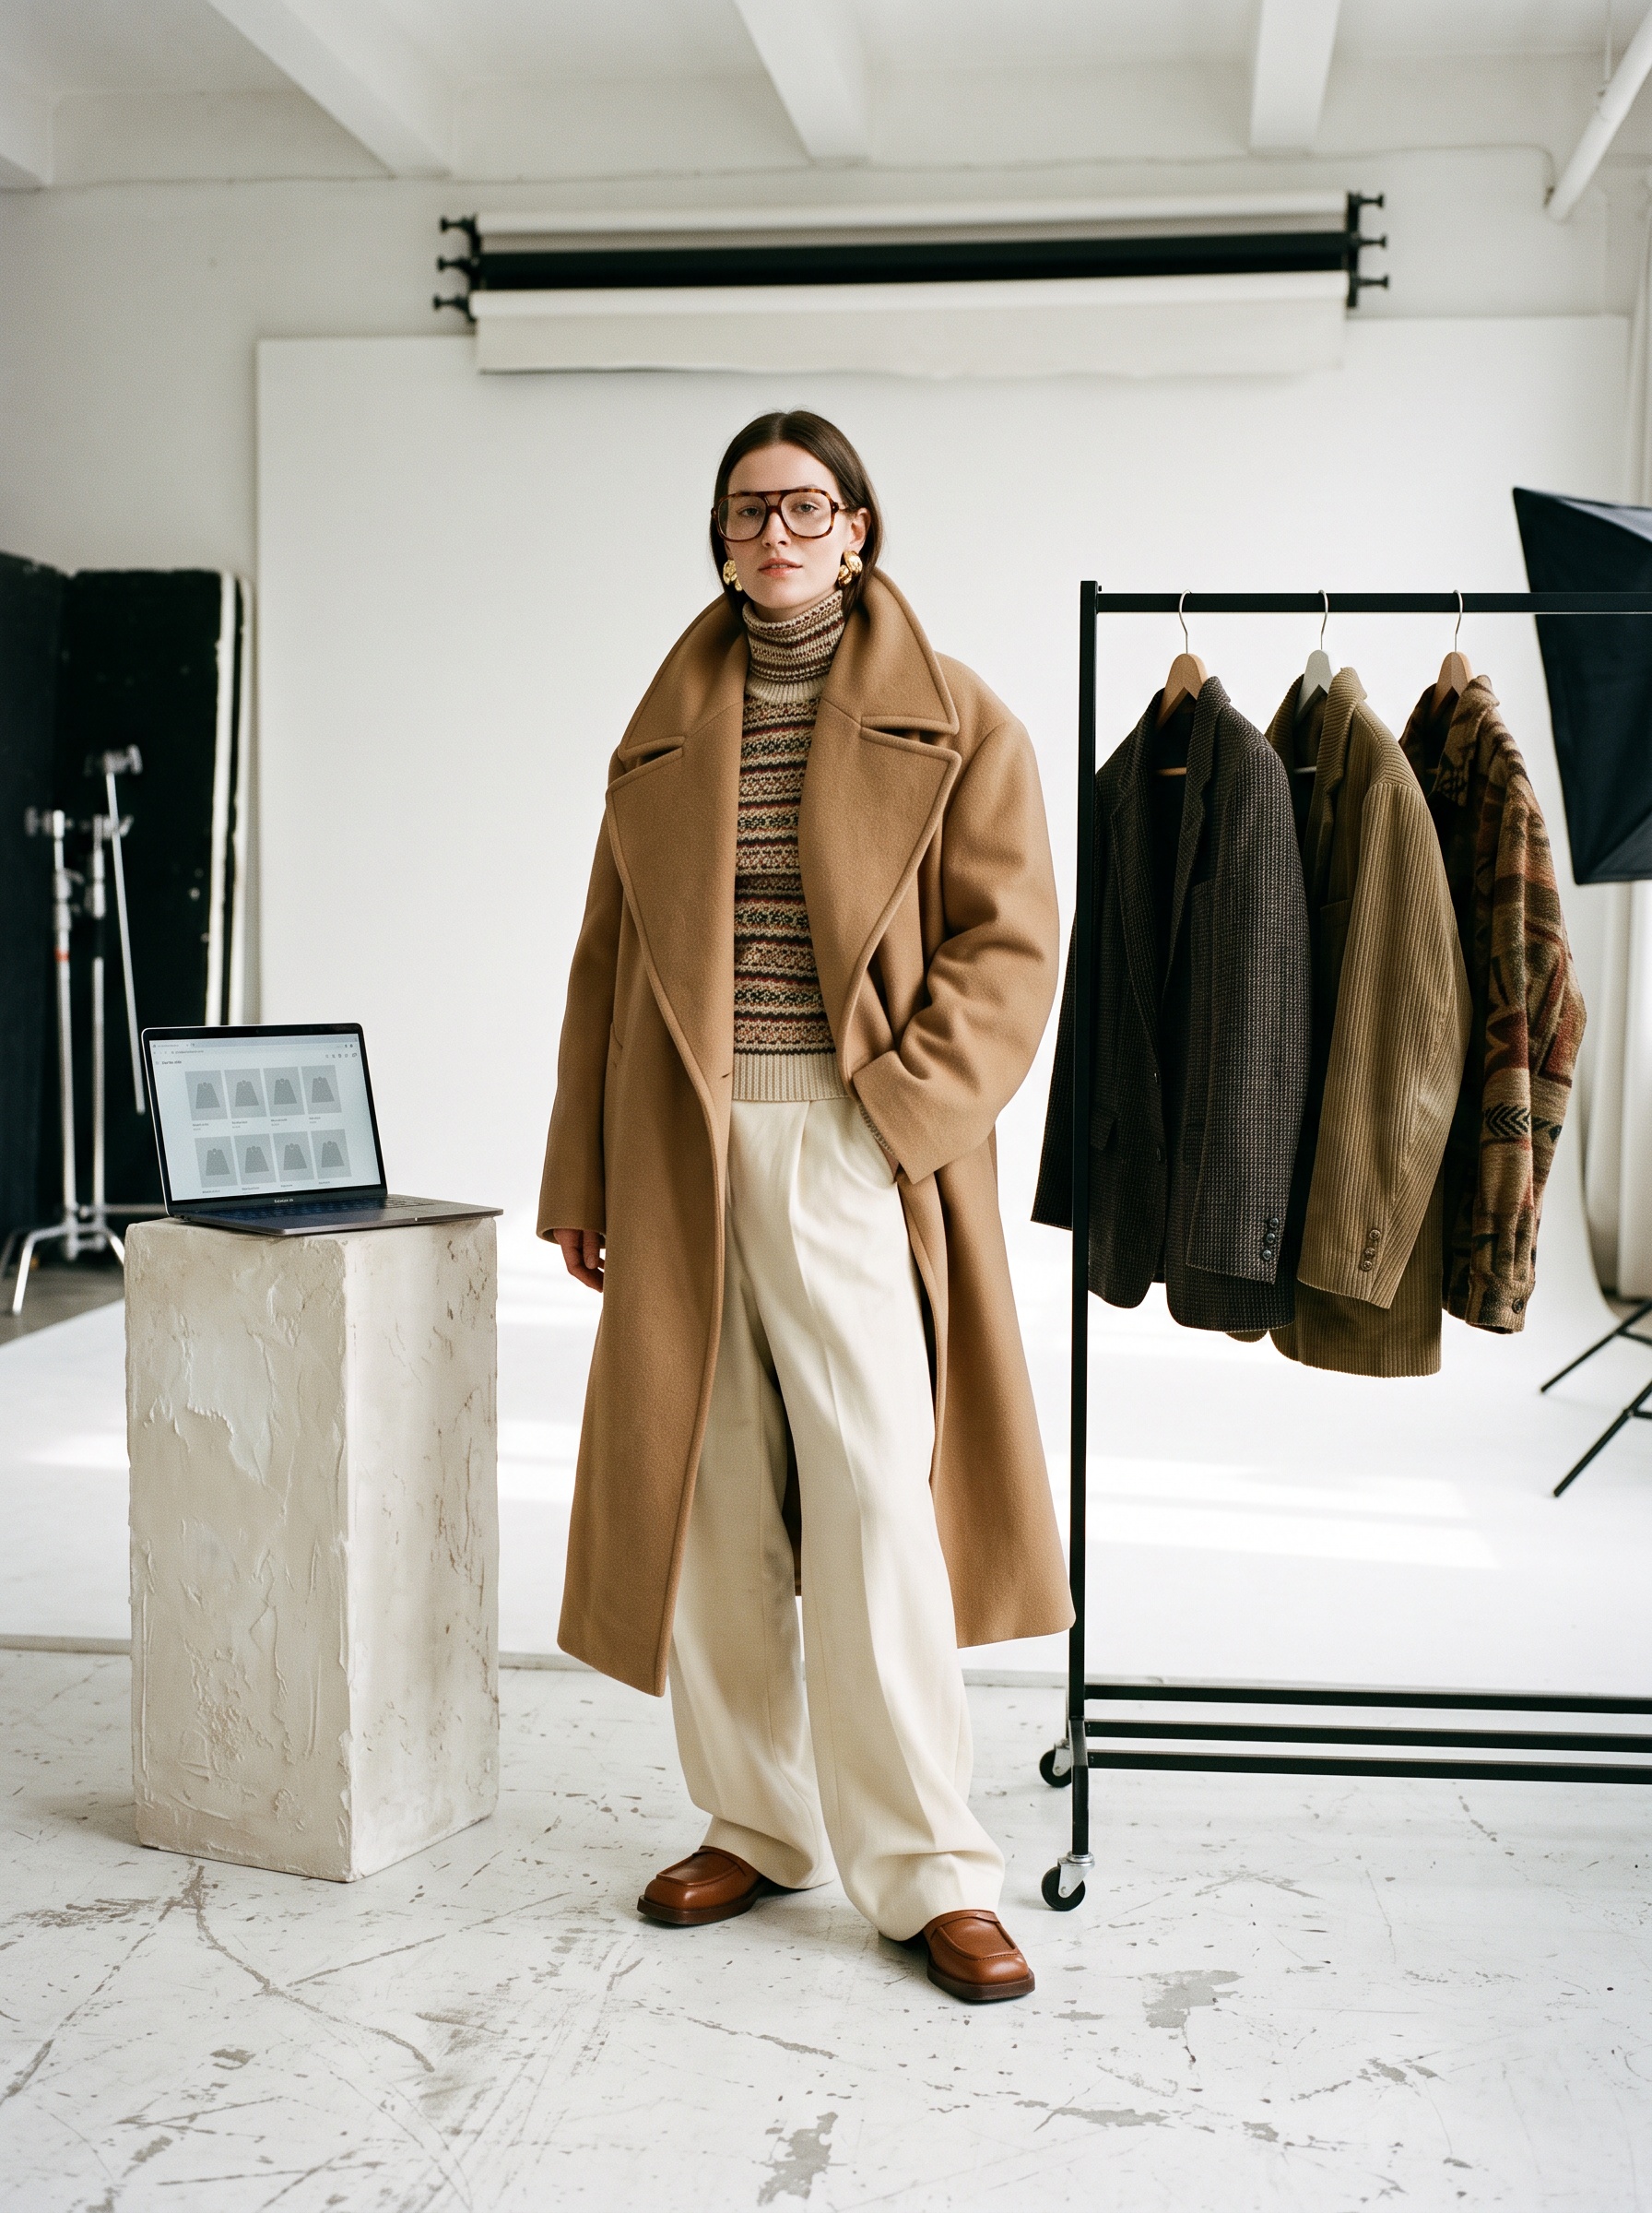
The shots a fashion product page needs
A shopper cannot touch the garment, so the gallery does that job. The pages that convert in fashion tend to carry the same five kinds of image:
| Shot | What it answers | How to make it with AI |
|---|---|---|
| On a model, full body | How does it fall, how long is it, what do I wear it with? | Product to Model |
| Ghost mannequin or flat lay | What is the exact shape and colour? | Image to Ghost Mannequin, Image to Flat Lay |
| Detail | What is the fabric, the stitching, the hardware? | A close-up photo, or Detail Close-up in video |
| Second angle | What does the back look like? | Product to Model with a camera angle, or Product 360 |
| Lifestyle | Where would I wear it? | Change Background, or a scene described in Product to Model |
You do not need all five on day one. A model shot and a clean product shot already put a page ahead of a single packshot.
How to make each shot with AI
1. Start from the photo you have
A phone picture of the garment, flat on a table or on a hanger in daylight, is enough. What matters is that the whole piece is in frame, the colour is true and the light is even. The AI keeps the garment you give it; it cannot invent a pocket it never saw.
2. Put it on a model
Product to Model dresses an AI model in your product: you choose the model, the framing (full body, upper body, close-up) and the camera angle, and you describe the setting or give a reference picture. Keep the same model across a collection and your catalogue reads as one shoot. A picture costs 1 credit on Standard AI, 3 on PRO AI, and 7 on Ultra AI in 4K, from the Pro plan.
3. Make the clean product shot
Ghost mannequin removes the hanger or the body and keeps the volume of the garment, the standard look for marketplaces and the first image of many stores. A flat lay does the same from above. Both use the same credit scale as above.
4. Add movement
A short clip on the product page answers the question a still cannot: how the fabric moves. Product 360 turns the piece on a white background, catalogue style; Detail Close-up glides over the fabric and seams. Videos are priced by the second, and the studio shows the price before you generate.
5. Do the whole collection at once
From the Pro plan, bulk generation runs one workflow over up to 30 product photos with one brief, so a new drop gets its model shots in a single pass rather than thirty.
Send the photos to Shopify
Once your Shopify store is connected, the studio shows your products next to your creations. From there you can publish a visual straight to a product page, and unpublish it the same way, and attach the right image to each colour variant so the photo changes when the shopper picks a colour. Publishing to Shopify works with every plan.
Each product page then gets an optimization score, with what is missing: too few images, no model shot, a title or description to improve. It is the quickest way to see which pages to work on first.
Let your AI agent do it for every new arrival
The steps above are the same each time a product lands in the store, which makes them a good job to hand over. An AI agent for your fashion brand can make the model shots for new arrivals and publish them to their product pages with your rights and your settings, then tell you what it did.
Mistakes that make AI product photos look fake
- A starting photo that hides the garment. Folded sleeves or a cropped hem produce a guess. Shoot the whole piece.
- A different model on every page. Pick one or two models per collection and keep them.
- Lighting that fights the store. If your other photos are on white, keep the model shots in a light, plain setting; save the street scenes for the lifestyle slot.
- Too much at once. Start with your ten best sellers, compare their conversion over a few weeks, then extend.
Frequently asked questions
Can I use AI product photos on my Shopify store?+
Yes. The images you create are yours to use on your store, your marketplaces and your ads. The product stays the one you photographed; only the model, the setting and the presentation are generated.
Do I need a photographer to start?+
No. A clear phone photo of the garment is enough for Product to Model, ghost mannequin and flat lay. A photographer still helps for campaign imagery, but the product page gallery can be made from the studio.
How do the photos get onto my product pages?+
Connect your store once, then open a creation and publish it to the product page from its Product section. There is no download and no upload. Each colour variant can get its own image.
How much do AI product photos cost?+
A picture costs 1 credit on Standard AI, 3 on PRO AI and 7 on Ultra AI in 4K, from the Pro plan. Every new account starts with free credits, so you can test it on a few products first.
Will the AI change my product?+
It is built to keep it: the colour, the cut and the details come from your photo. Look at each result before publishing, and generate again when a detail is off; it costs one more credit, not a reshoot.
Related articles
- Clothing Product Photography with AI: The New Black AIEvery image a clothing product page needs, made from one photo of the garment: packshot, ghost mannequin, on-model, colourways, video; the credits and minutes each costs, what still needs a camera.
- Google Shopping Free Listings for Shopify: The New Black AIThe New Black AI reads your free Google Shopping listings on the Store page: impressions, clicks, approved products and a product-by-product table from Merchant Center, beside Search Console.
- Change Clothes Colour in a Photo with AI: The New Black AIHow to change the colour of clothes in a photo with AI: HEX code or a name, one garment and not the rest, the colourway workflow for a product page and its Shopify variants, and what to check.
- Shopify Profit and Loss by Month: The New Black AIThe Store page of The New Black AI now shows a Profit & loss for a Shopify fashion brand: this month and the one before, net sales, cost of goods, ad spend, your own costs, profit and margin.
- Fix Missing Google Shopping Attributes: The New Black AIMissing color, age group or gender in Merchant Center: The New Black AI's Store page proposes the value, you confirm, and it is written on your Shopify product for Google to re-read within hours.
- Facebook Posts and Stories from Your Store: The New Black AIConnect your Facebook Page in The New Black AI and publish to it from the studio and from the Store's agenda, as a post or a Story, with each post's likes and comments on the calendar.
- AI Fashion Models, How They Are Made: The New Black AIAI fashion models explained: how a product photo becomes an on-model image, what one image costs in credits, and when a brand should use them instead of a shoot.
- Shopify Product Traffic and Conversion Rate: The New Black AIA small pixel you enable in one click on Shopify feeds your Store page: traffic, add-to-cart rate and conversion rate per product, combined with sales into one performance score.
- AI Fashion Ad Videos from a Product Photo: The New Black AIA short advertising film from your product, in the format your channel wants, and as many variants as a paid campaign needs before the frequency kills it.
- Fashion Store Dashboard Without Shopify: The New Black AISocial agenda, Meta Ads, Search Console, Shopping and Analytics open without a shop. Products, SEO by product and sales fill in the day you connect Shopify.