Erase and Remove Image Details with AI
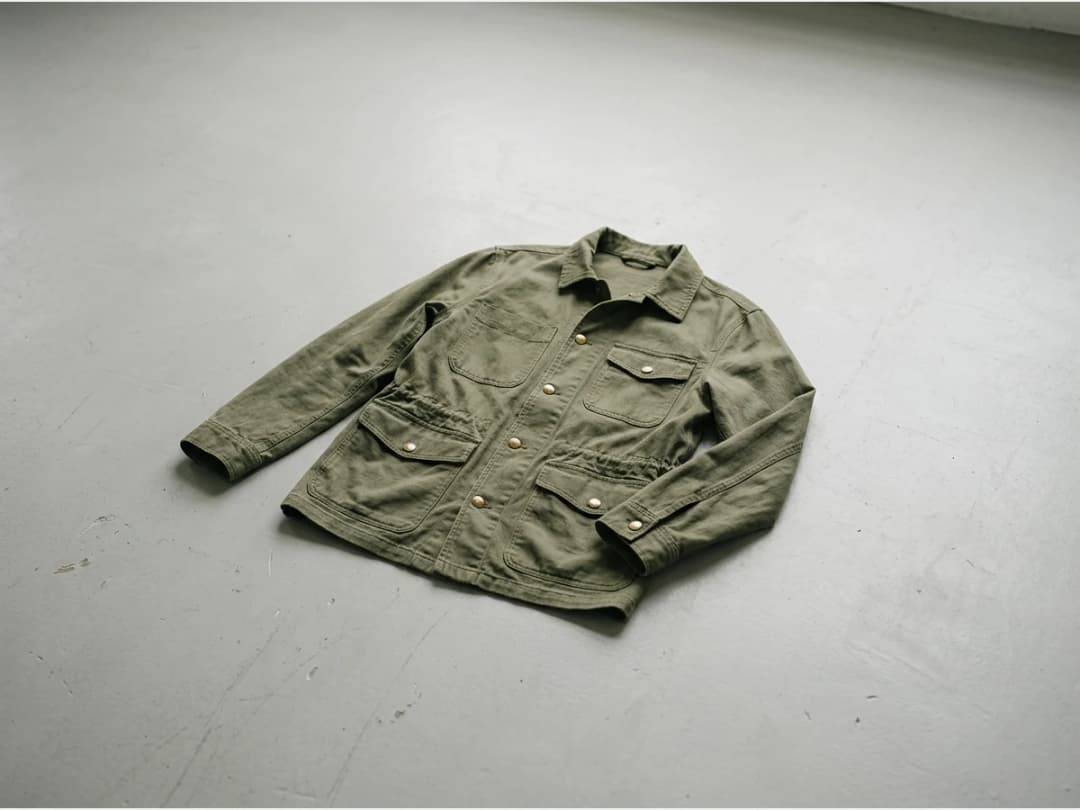
The erase tool removes details from an image and rebuilds the surface behind them. You mark the area, name what should go, and 10 to 15 seconds later the logo, zipper, pocket, or whatever else you did not want is gone, with the fabric continuing cleanly where it was. It is the subtraction half of image editing: nothing added, nothing restyled, just removed.
Updated 29 September 2026
- 1Mask the area and name the target
- 2Let the AI rebuild the surface
- 3Erase, or replace
How it works
Mask the area and name the target
Paint a mask over the region that contains the detail, then write in the text field what to delete. The mask says where, the text says what; together they keep the AI from touching anything else.
Let the AI rebuild the surface
Processing takes about 10 to 15 seconds. The object disappears and the area is reconstructed to match its surroundings, so a de-branded sweater still reads as an untouched photo.
Erase, or replace
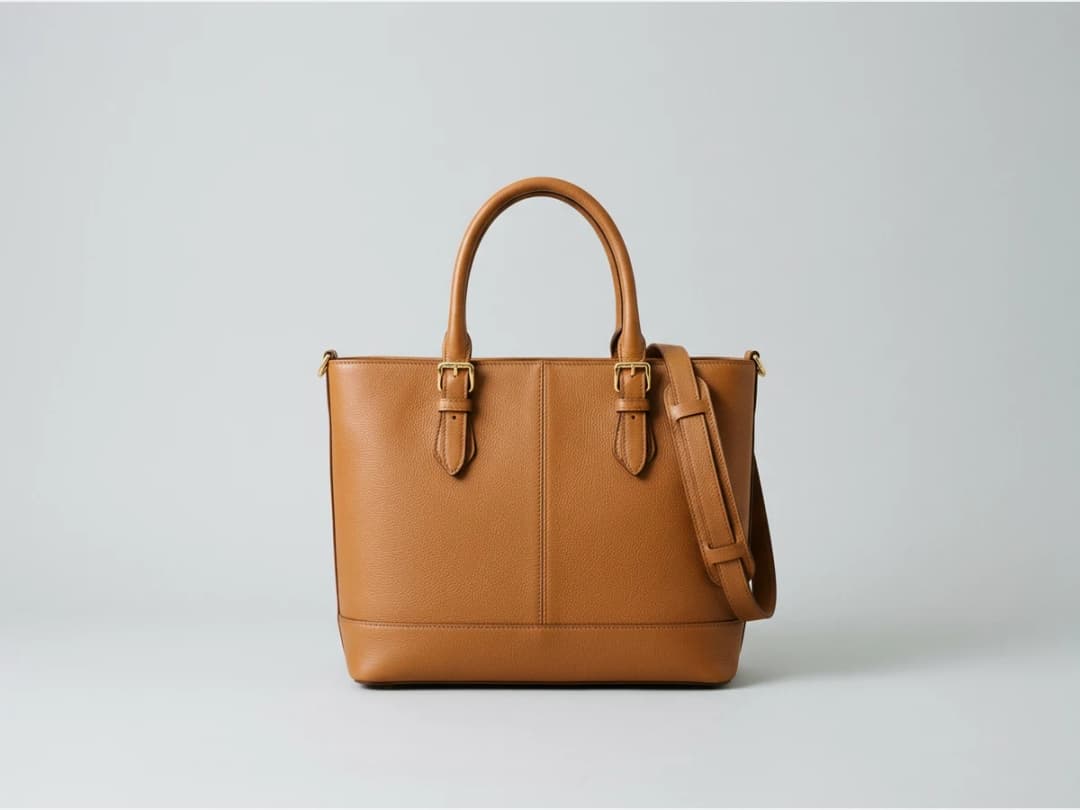
Removal is one direction; the studio's replace feature goes the other way, adding or swapping details in the same masked workflow. Between the two, small design decisions stop requiring a reshoot.
Small tool, constant use
Most images are one detail away from usable: a competitor's logo on a sourced reference, a hardware detail that dates a sample, a pocket that clutters a silhouette. For broader changes to a garment, the edit image tool restyles rather than removes, and the background changer handles everything behind the clothes. All of it runs in the design studio.
Frequently asked questions
What kinds of details can I remove?+
Anything you can mask and name: logos, zippers, pockets, small accessories, stray objects. The stated targets are exactly the small details you do not like on an image.
How long does one removal take?+
About 10 to 15 seconds from clicking to seeing the cleaned image.
What does the tool need from me?+
An uploaded image, a mask over the area, and a short text saying what to delete. The text matters: it tells the AI which object inside the mask is the target.
What if I want to put something else in its place?+
Use the replace feature alongside erase: it adds and replaces details instead of just removing them, so the same masked spot can receive a new element.
Try it yourself
Everything on this page was made in the studio. Your first designs are minutes away.
Open the studioRelated features
- AI Fashion Video from Reference ImagesPut your model, your garment and a place into one video: add up to three reference pictures, describe the scene, and get a 5 to 15 second fashion clip in 9:16, 1:1 or 16:9.
- Fashion Reel Templates & AI Motion DesignEighteen Motion Design templates for fashion reels: drop your photos or clips, edit the words, render a 10-second video in 9:16, 4:5, 1:1 or 16:9. One credit, every plan.
- AI Image Generator for Fashion: Create or Edit Any ImageWrite what you want and get the image, or upload up to three references and describe the change: the free-prompt tool that creates or edits any fashion visual, in any format.
- Generate AI Fashion in Bulk for Your CatalogGenerate a whole catalog in one run: upload up to 30 product photos, pick a workflow, write one brief for the batch, and get AI models, try-ons or videos for every item at once.
- Create an AI Video of a Fashion Model Turning AroundTurn a front and a back photo into a smooth AI turnaround video with Model 360: the model turns on the spot or the camera orbits, every detail of the outfit kept from every side.
- Create AI Generated Model VideosTurn a clothing photo into an AI model video: create the model, then bring the still to life with realistic motion, no photoshoot needed.
- Animate a Sketch with AI VideoAnimate a fashion sketch with AI: upload a drawing and get a short video where the illustration itself moves, for presentations and moodboards.
- AI Jewelry Video GeneratorTurn a jewelry photo into a video with AI: sparkle, macro detail and slow rotation from a single image, no product film shoot needed.
- AI Sunglasses VideoTurn a sunglasses photo into a video with AI: face turns, lens reflections and light play from a single image or a text description.
- AI Shoes and Sneakers VideoTurn a shoe or sneaker image into a video with AI: on foot movement, sole flex and turning angles from one photo or a text description.